DIY Coastal Bathroom Ideas You Can Do In 1hr Or Less!
Jul 8, 2016
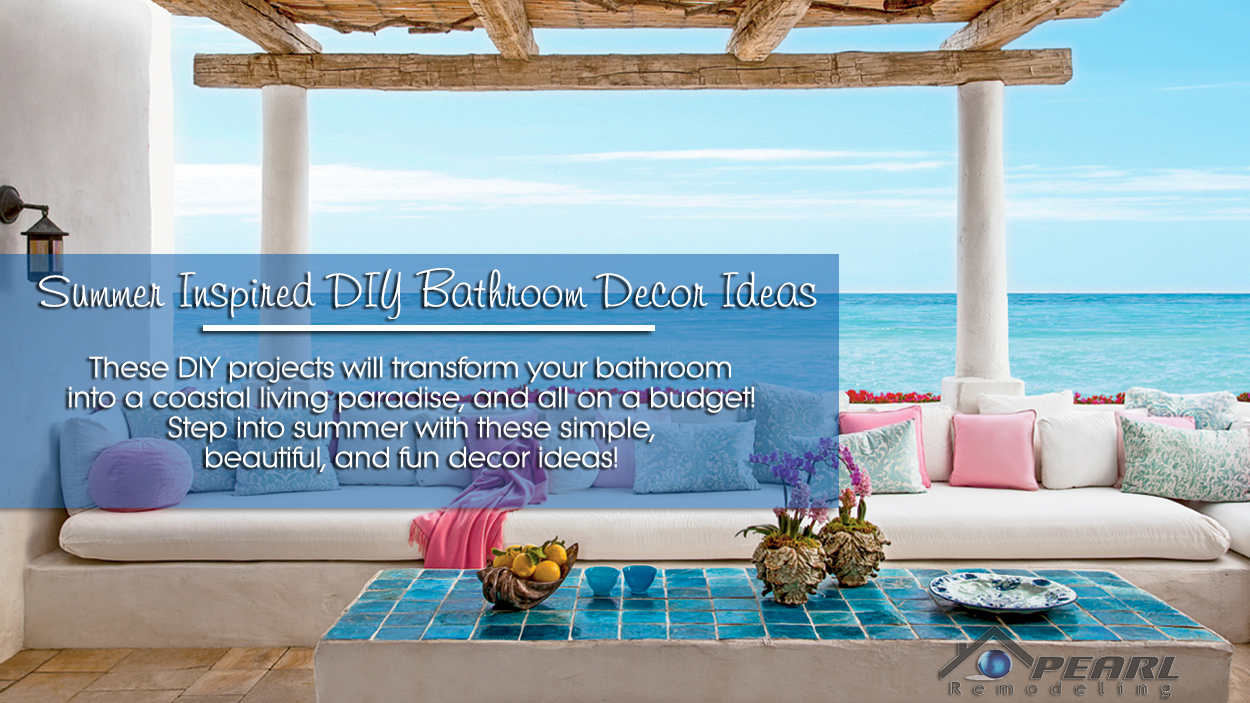
Step Into Summer With These DIY Bathroom Decor Ideas
We can all feel it-
Summer is here! California is known for its beautiful coastal landscapes, and open airy summer decor. These DIY ideas can help to transform you bathroom into a coastal living paradise and all on a budget that won't break the bank. For all of these ideas, you can pick up the supplies at your local craft store. We tried to make sure to use supplies which required no special ordering or extra fuss. Who has time for that?
1. Stone Bathmat

This diy bathmat (or door mat) is incredibly simple to make, and when you consider that buying this can cost upwards of $50-60, it is definitely a money saver! Try using different colored stones for some alternative styles!
What you'll need:
- A Rubber door mat
- silicone adhesive
- smooth pebbles/stones (river rock)
How to:
- Lay down some painter's plastic or a trash bag to protect your floor from any spillange of the silicone
- Lay out your rubber mat, and place stones on top of it, making sure to cover the surface completely. This is a way to "map out" where each stone will go, and to make sure that you have enough of te river rock to cover the surface of the mat. Feel free to be creative in your design!
- One at a time, lift a stone, apply a pea size amount of the adhesive and place it back onto the mat, with firm pressure
- Allow to dry overnight
2. Mason Jar Bathroom Organizers

When it comes to achieving a coastal feel, it is the accessories that truly make it authentic. This DIY project can be done in the course of an hour or two, and as an added bonus, get your kids involved in this easy, fun DIY activity for you coastal bathroom!
What You'll Need
- Mason Jars. (If you cannot find the blue ones, then buy some glass enamel paint from any local big box craft store)
- Burlap Ribbon or nautical rope
- Hot Glue
- Seashells
How to:
- Make sure that the mason jars are clean and free from dirst and dust or debris
- If your going to pain a mason jar, then use a sponge brush to even coazt the inside of the jar with the glass enamel and allow to dry based ont he manufacturere's guidelines
- Using the hot glue gun (or for the kid-friendly version, you can use rubber cement or superglue), wrap the burlap ribbon, or the nautical rope around the center of the mason jar. You will want to put a small drop of clue on each coil of the rope as you wrap it around the jar
- Allow the glue to dry for at least an hour
- Using the same glue, adhere your favorite nautical items (such as sea shells, or star fish etc) to the rope
3. Sea Shell Wall Decorations

This is another coastal design that will only take a few minutes of your time. For other variations, you can also use canvas and glue sand to the canvas in place of the burlap. Try using a shadow box instead of these flat frames for a 3d effect!
What You'll Need
- wooden picture frames (without the glass)
- Acylica paint (if your frames arent the color you want)
- 3 large sea decorations (sea shells, rope, star fish)
- craft glue
- burlap
How To:
- If you need to repaint your frames, sand off the original color with some 180 grit sandpaper, then go back over ther frame with a 220 or higher grit then wipe away any sawdust and paint witha s ponge brush
- Use the craft glue to attach the burlap to the cardboard backing of the frame]
- Attach the seashell or other beach item to the center of the fram using craft glue
4. Nautical Waste Bin

Talk about easy! A simple way to achieve that beach look without much effort at all! You don't need to run out and get a wire wastebin if you don't have one, a plastic wastebin works just as well!
What You'll need:
- A spool of nautical rope (somewhere in the area of 30 ft)
- A hot glue gun
- A wastebin
How to:
- Starting from the bottom of the bin, glue one end of the rope to the bin
- Begin wrapping the rope around the bin, keeping the tension relatively tight
- apply a glue to the rope about every 3-4 inches of rope
- allow to dry
5.Nautical Themed Handsoap Bits

These individual sized soap cubes are functional, easy to make, and add some coastal flare to your bathroom decor. For added varations, try using other small moldings shaped like seashells or other beach themed items!
What You'll Need:
- Blocks of glycerin
- Liquid Food Coloring
- An Ice Tray
- Petrolium Jelly (vaseline)
- Q-tips
- A micowave safe container
How to:
- Glycerine comes in big blocks, so in order to use it, you will need to cut off chunks large enough to fit into your microwave safe container
- Get your ice tray (or other mold), and use a tiny bit of liquid food coloring and a q-tip to coat the insite surface. Remember, food coloring is ultra consentrated, so only a dab will do!
- Heat the glycerin in a microwave on high, stirring at 15-second intervals, until it's completely melted
- Use a q-tip to coat the inside of the ice-cube tray with petroleum jelly. Pour the melted glycerin into the tray, filling each section almost to the top
- Allow to cool for 2 hours
In Closing
We hope that these super fast, super easy, and inexpensive DIY Coastial Decor ideas worked for you! We tried to compile a list of diy projects that would be easy on time and easy on the budget. Happy decorating!
Did you like this article? To keep up with our newest posts and updates, join us on facebook!
Author: Franccesca
Posted: 7/8/2016